| In
October 2008 I ordered to Astrodomes
(Col blumson in
Australia) a kit
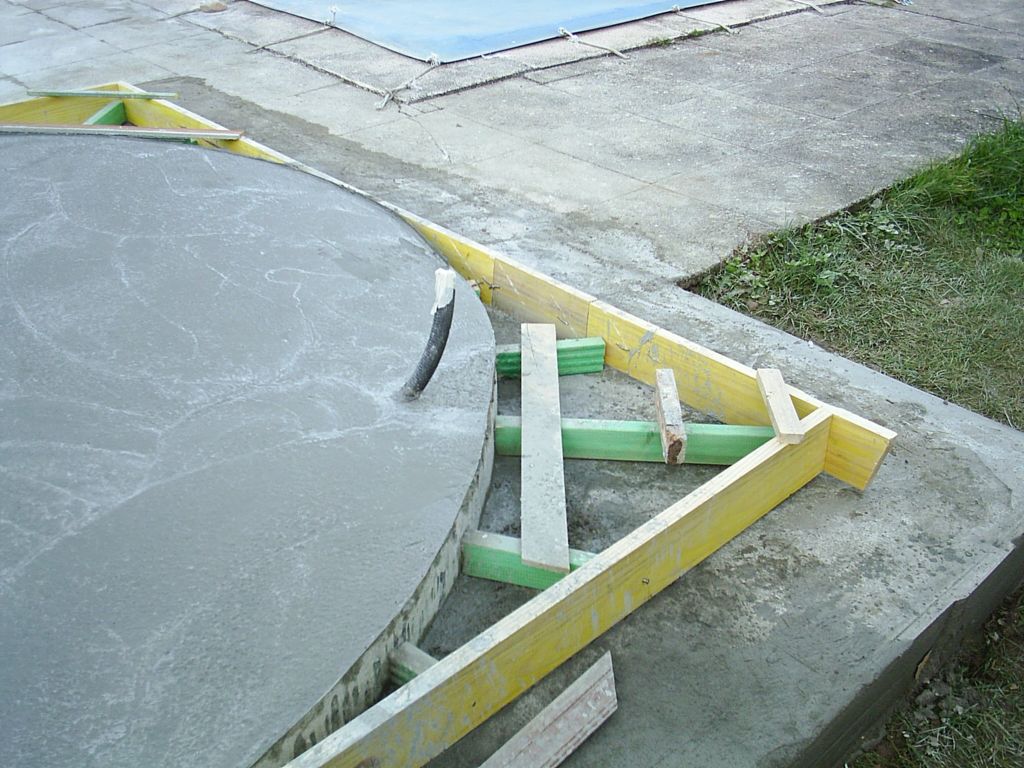
for building a 3m diameter steel dome. While waiting for the kit to
arrive we built the platform where the dome was going to be installed.
The pictures show the platform still with the formwork. |
 |
 |
| The
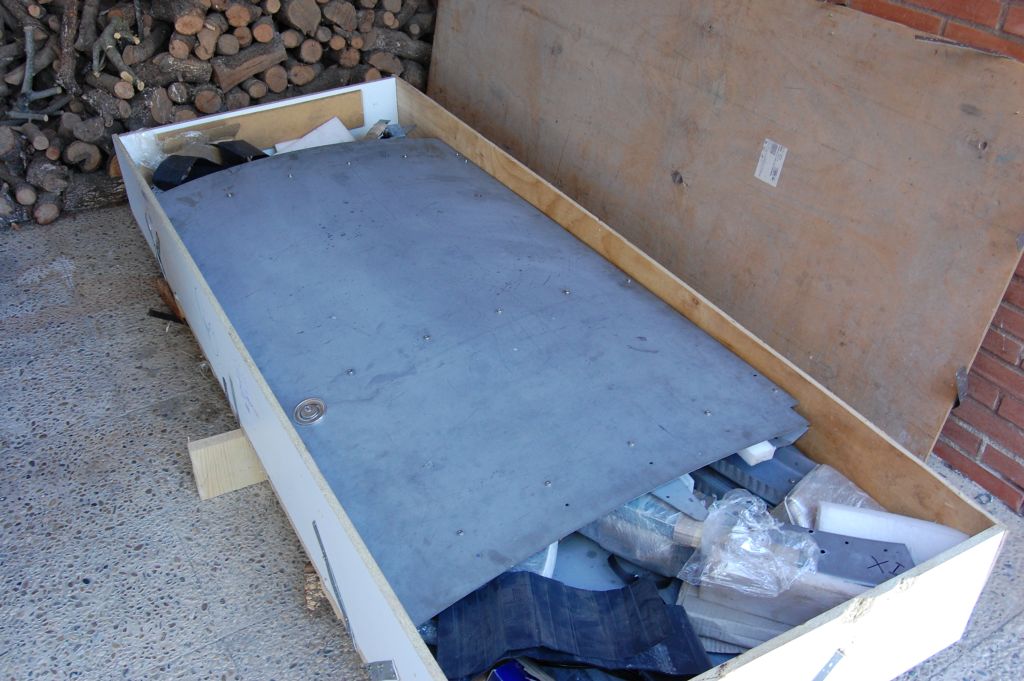
kit arrived the first week of Mars and I used the "San José"
holiday (from thursday to sunday) to build the dome with the help of my
brother an my two children. The pictures show the parcel that came from
Australia (2,40x1,00x0,30m): |
 |
 |
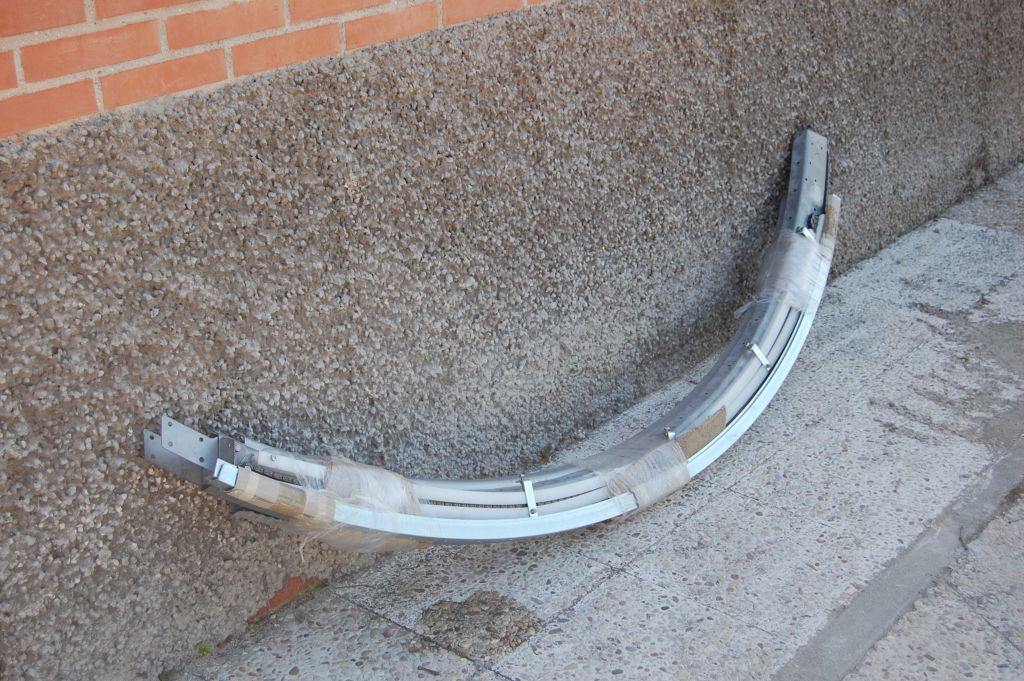
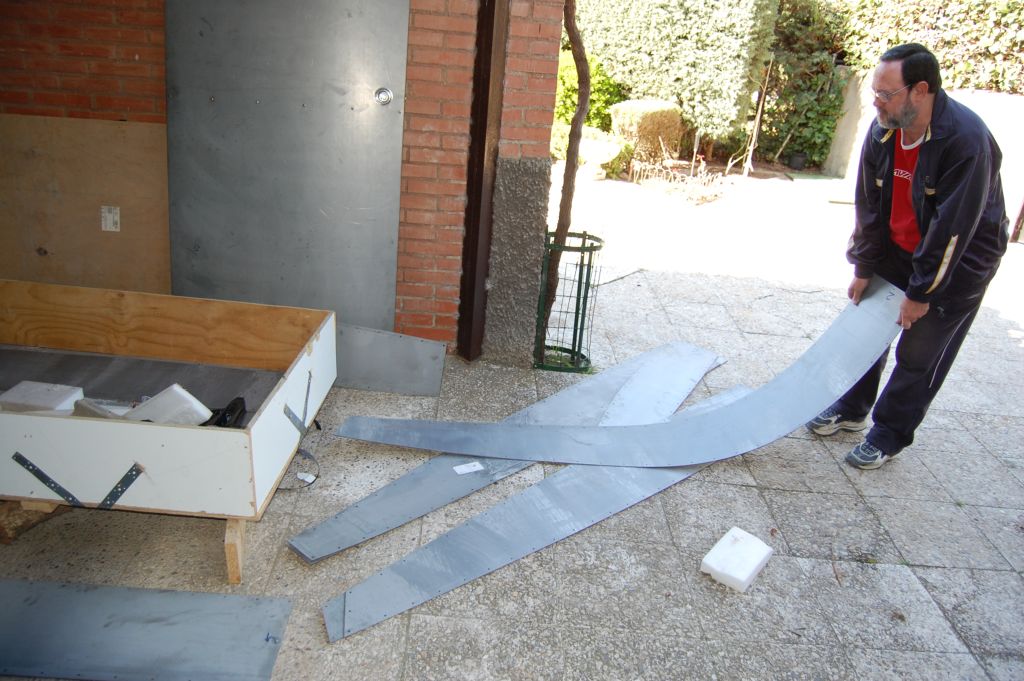
| Here
is part of the hardware, the frontal hoops and some of the pannels.
Everything is made of zincalume steel and the panels are 1mm thick,
what once assembled, gives the dome a very good solidity. |
 |
 |
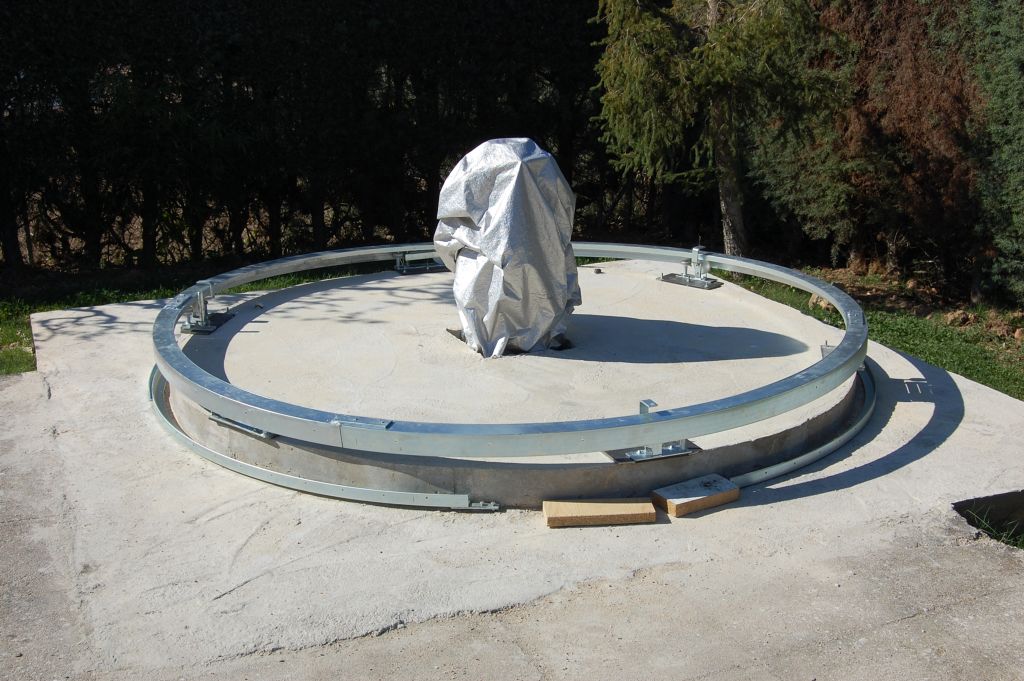
| First
of all we had to assemble the base ring, that is the base of the dome
and where the wheels contact, and to mount the wheels on top of the
concrete platform. There are three fixed wheels (one of them with the
motor bracket) and other three sprung wheels, so the weight is well
distributed among six wheels. Here is the ring on top of the wheels: |
 |
 |
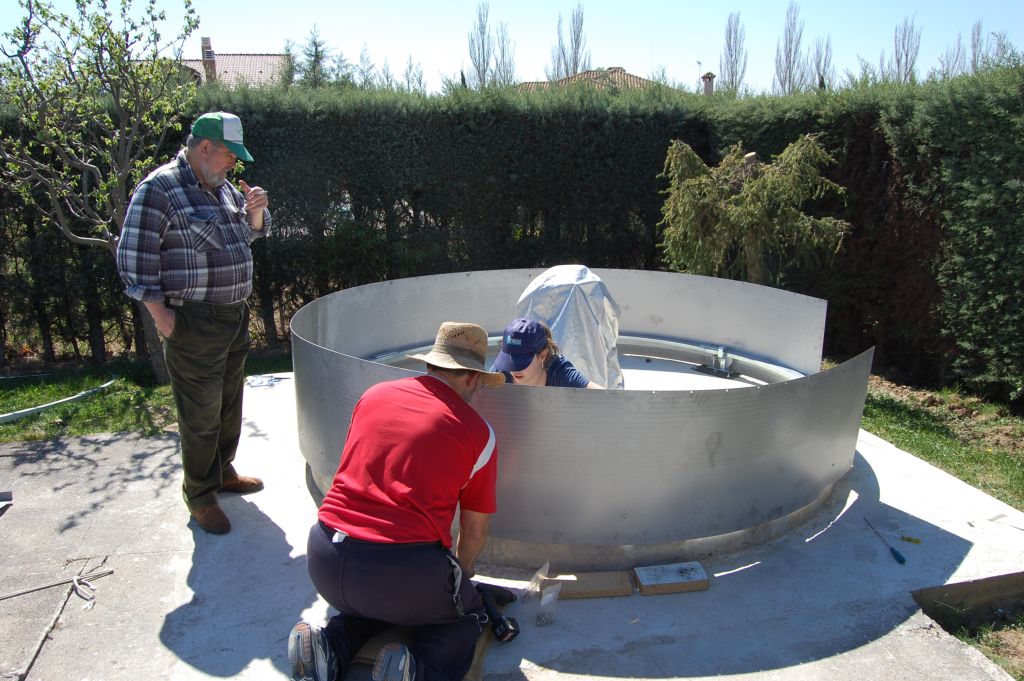
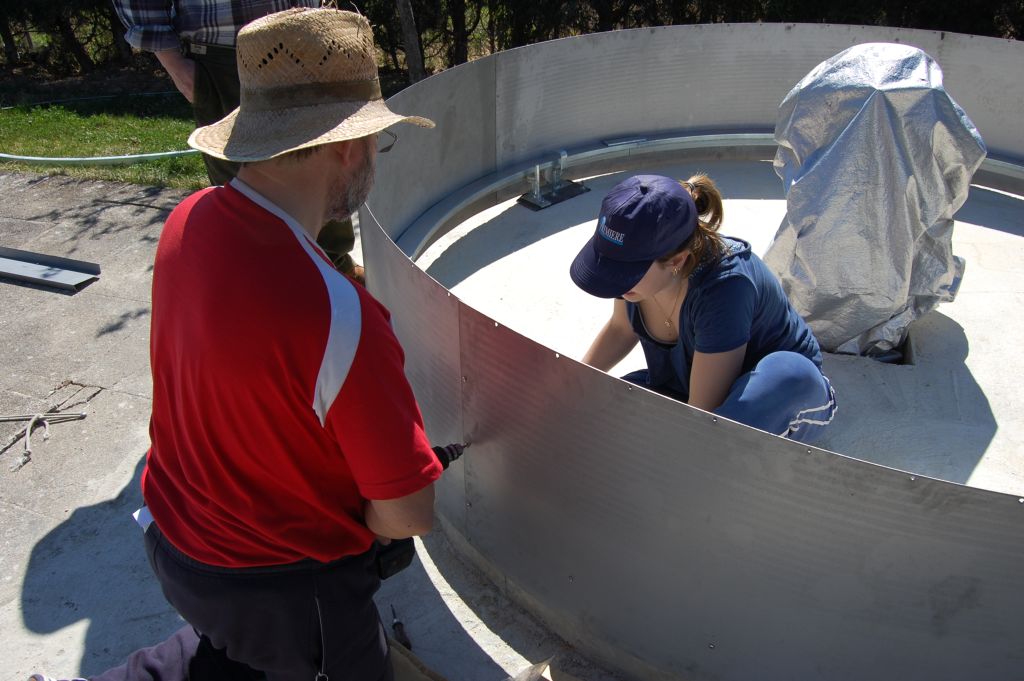
| The
next step was to assemble the skirt, fastening the pannels and fixing
them to the base ring. |
 |
 |
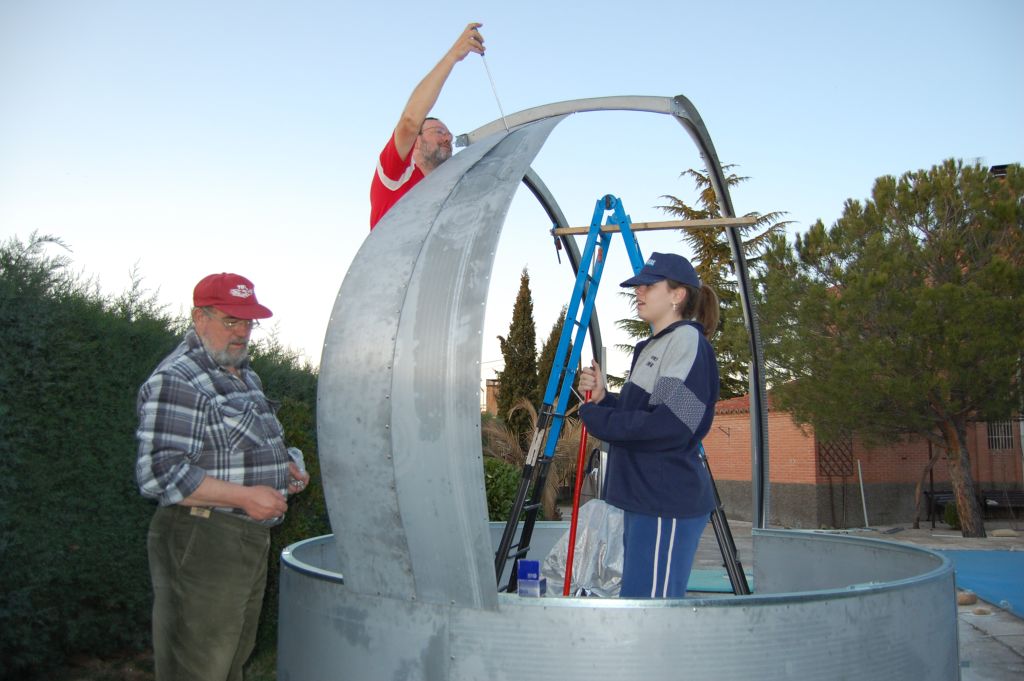
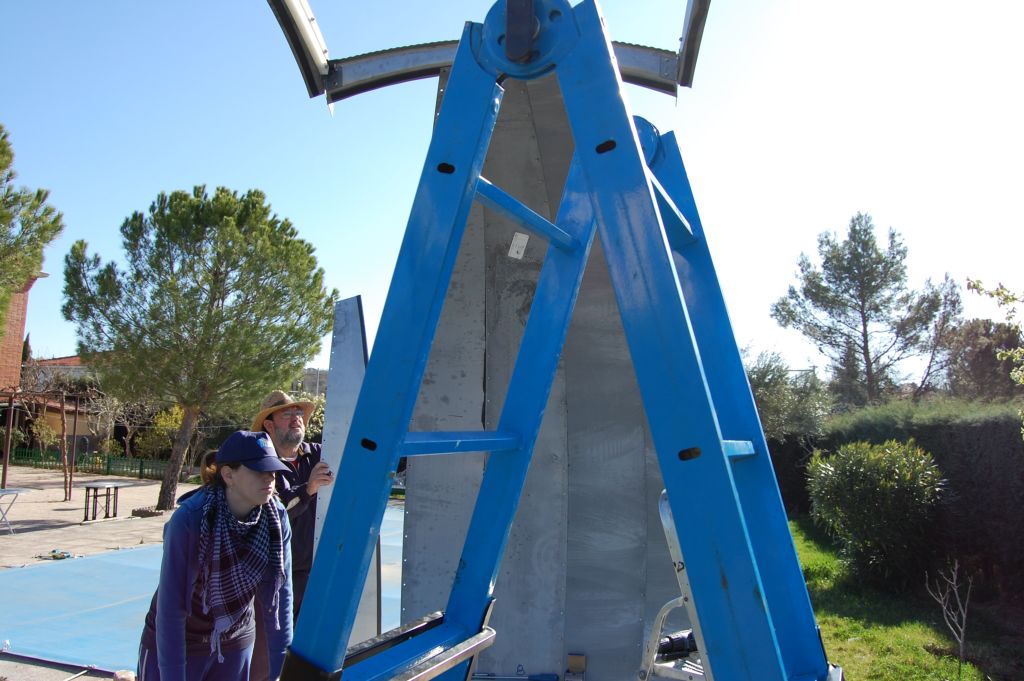
| Once
the skirt was finished, we had to assemble the upper ring, the frontal
hoops and the two first pannels. This is a delicate operation because
the frontal hoops have no rear support and we had to prop them on top
of a stepladder while assembling the first pannels: |
 |
 |
| Once
the three first pannels were assembled, the supporting stepladder was
no longer needed, the system is in a stable balance. The next steps
were assembling and screwing pannels from the rear to the front. The
joint between pannels is sealed by means of a one side bonded tape. In
this way the dome is watertight. |
 |
 |
| We
keep assembling pannels... A few remain: |
 |
 |
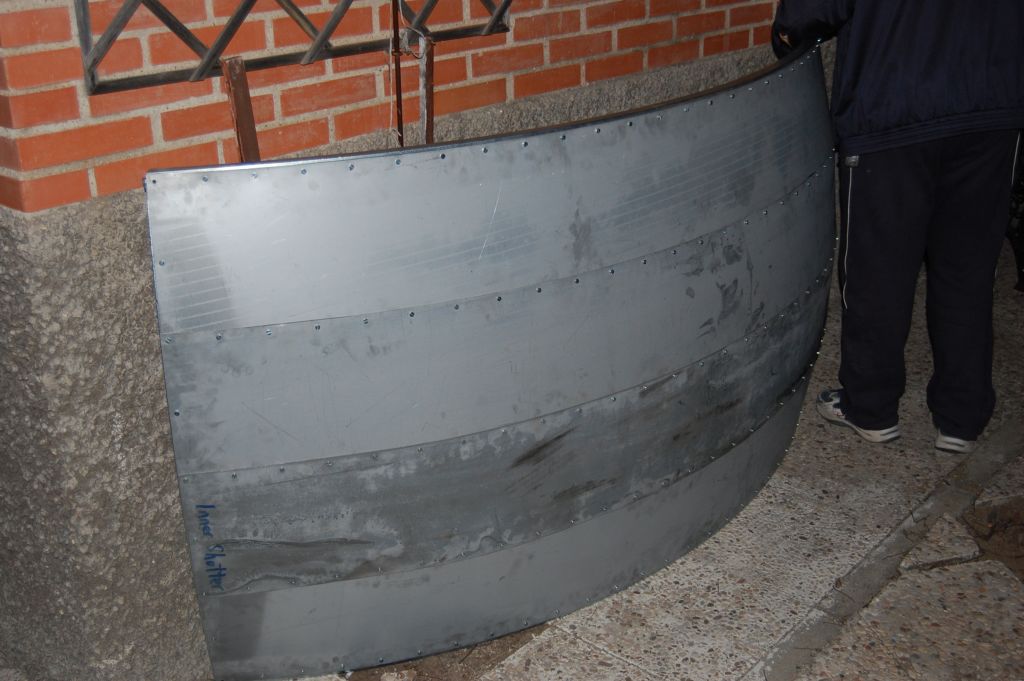
| The
next step was assembling the shutter that, as can be seen, has two way
curvature, it is a piece of sphere. Next the rear hoops are assembled.
Over them two pieces of HDPE can be appreciated, where the shutter is
fixed and that allow the shutter movements sliding over the edge of the
hoops. |
 |
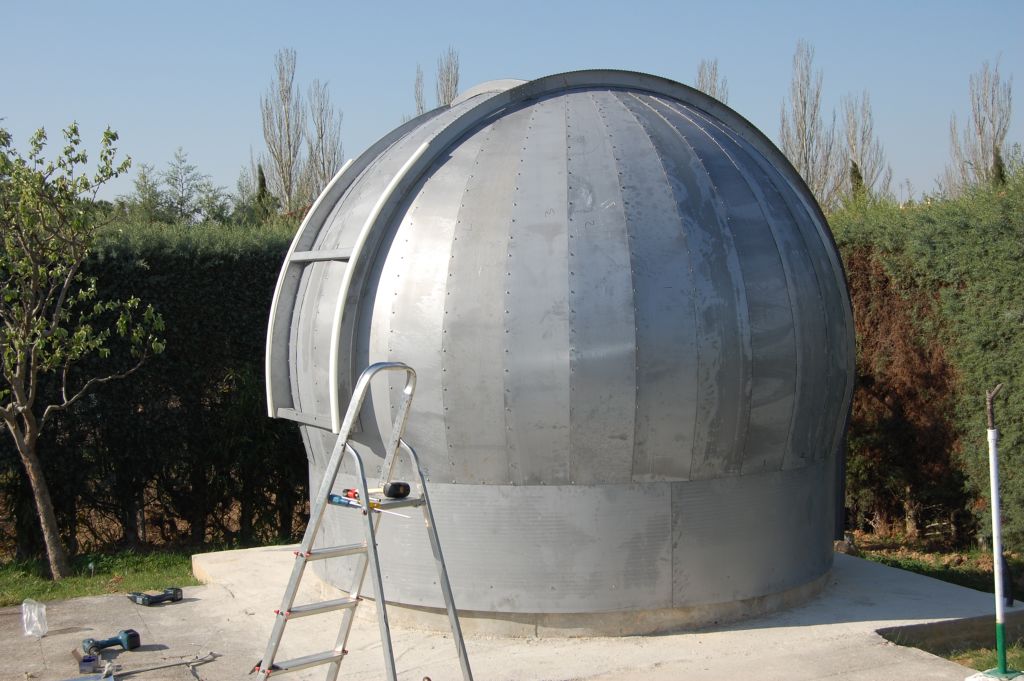 |
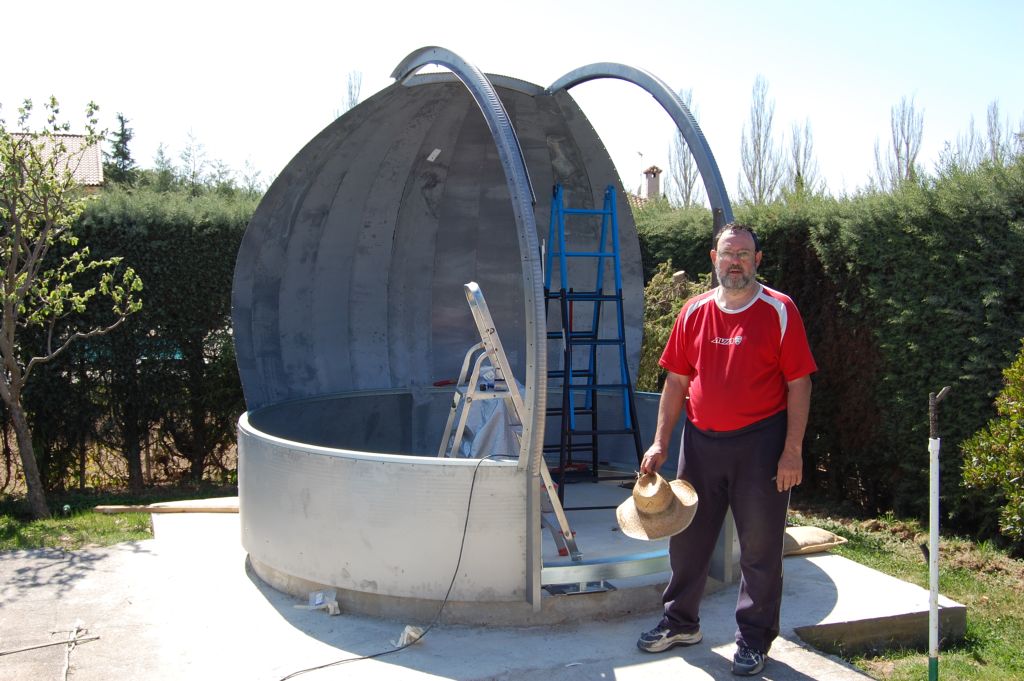
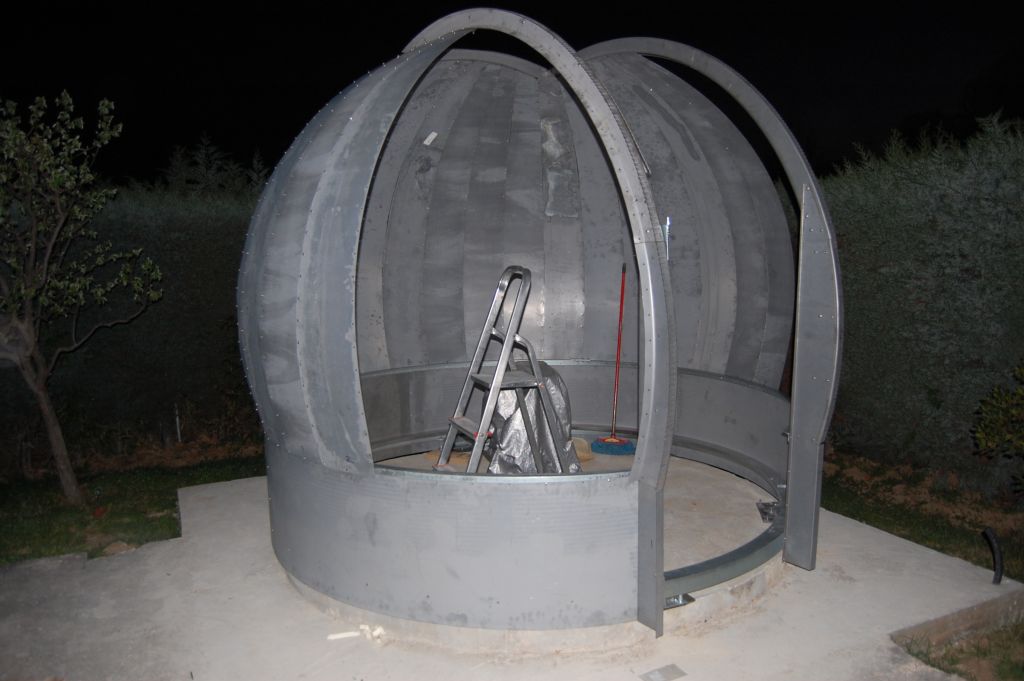
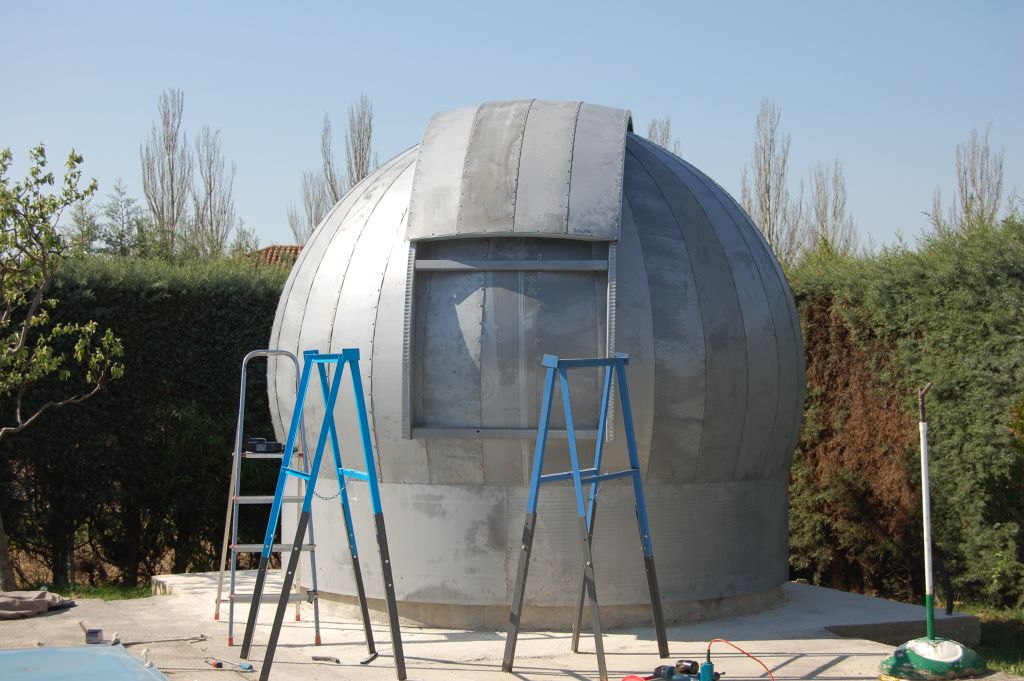
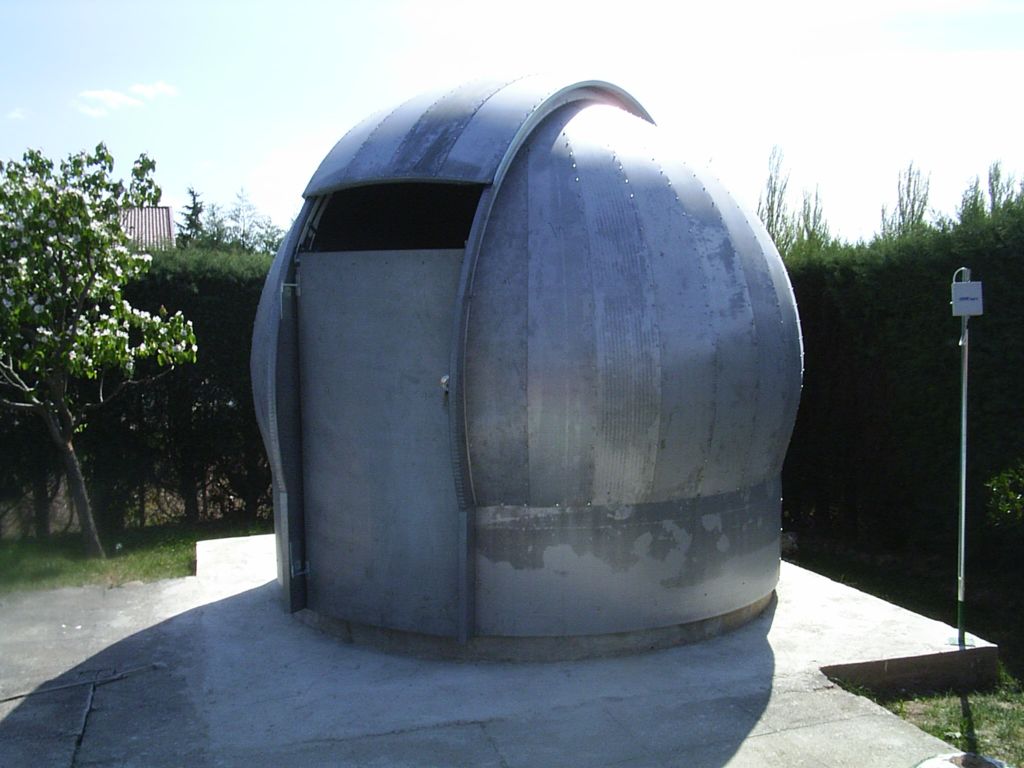
| The
dome, almost complete is shown here, a front view with no shutter and a
rear view with the shutter partially open... Very little remains... |
 |
 |
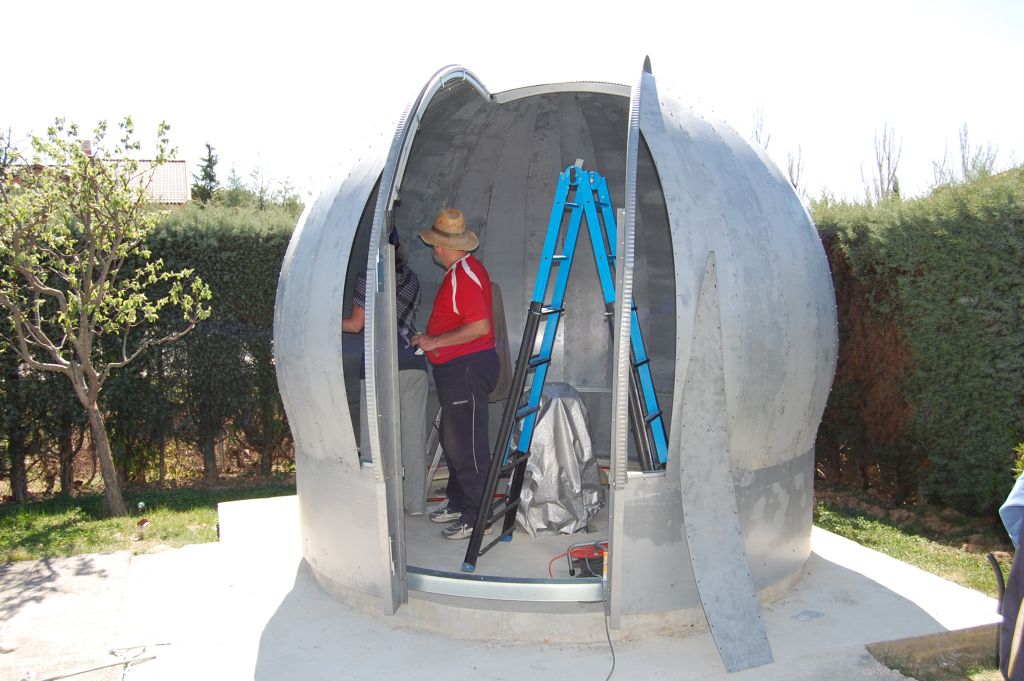
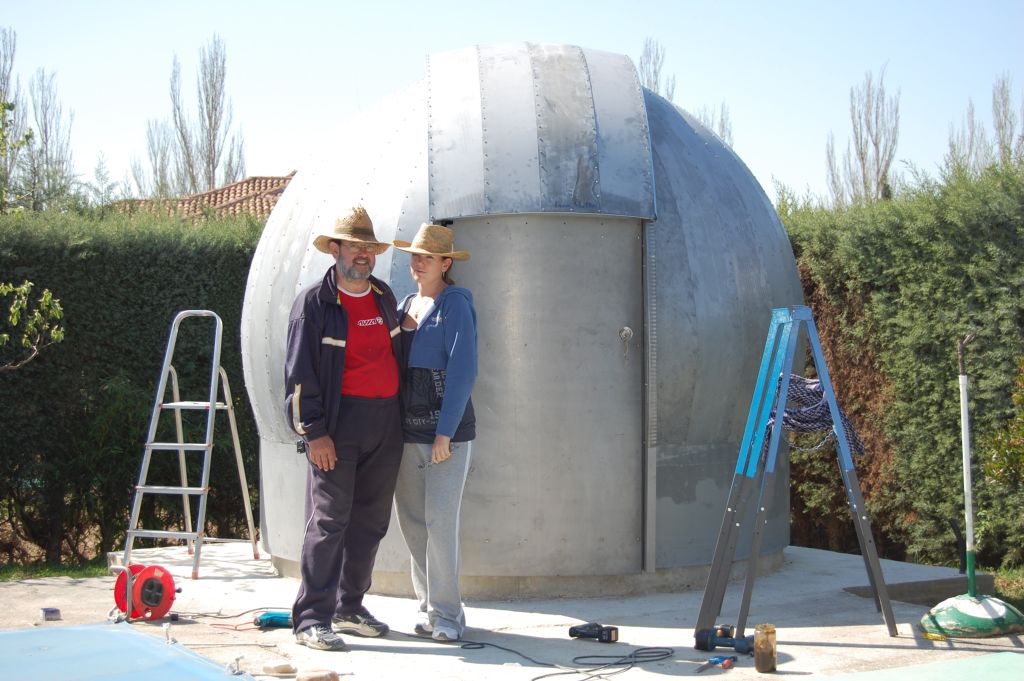
| Finally
we assemled the door and the motors and... The dome is complete...
Except painting, isolating, etc. We have used more
than
1.000 bolts and nuts. |
 |
 |
| During
the two following weekends I have been working in the motor
controllers, power supply, wiring, etc. Wiring is already complete,
including a solar pannel for the battery that gives power to the
shutter motor and a directional WIFI antenna. |
 |
 |
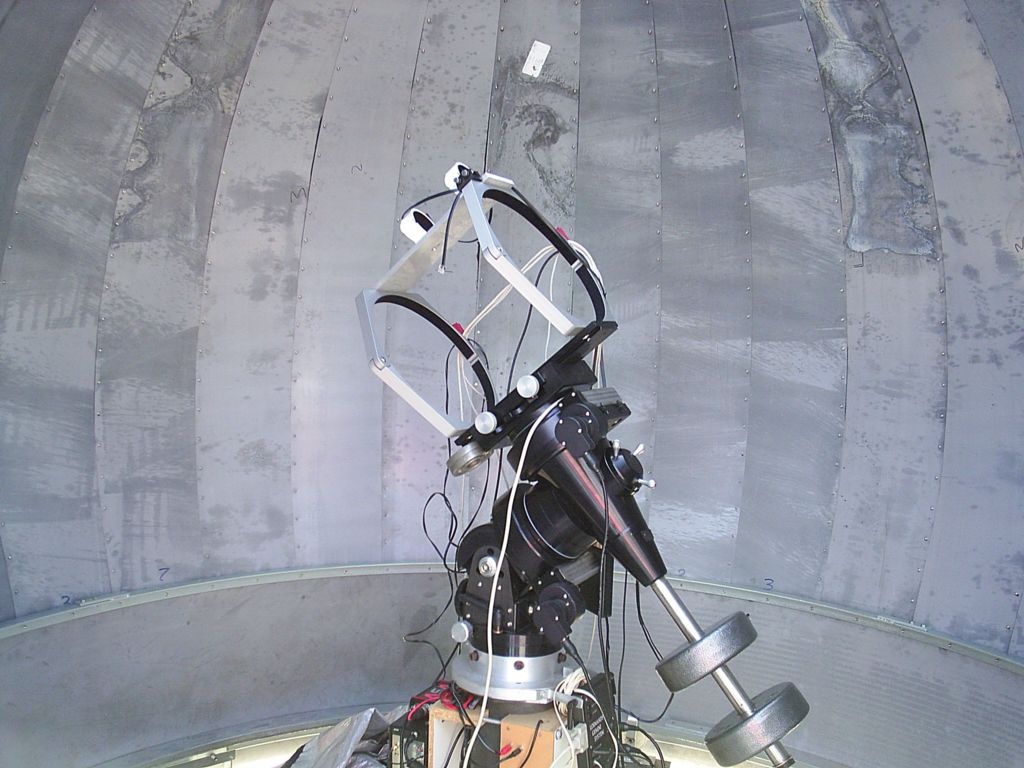
| Finally
I could put my mount on top of the pier as well as the rest of the
hardware, PC, wiring, etc. By now I am able to control the movements of
the dome from the house via WIFI and to slave the dome to the telescope
through the ASCOM driver. Here, the mount inside the dome can be seen. |
 |
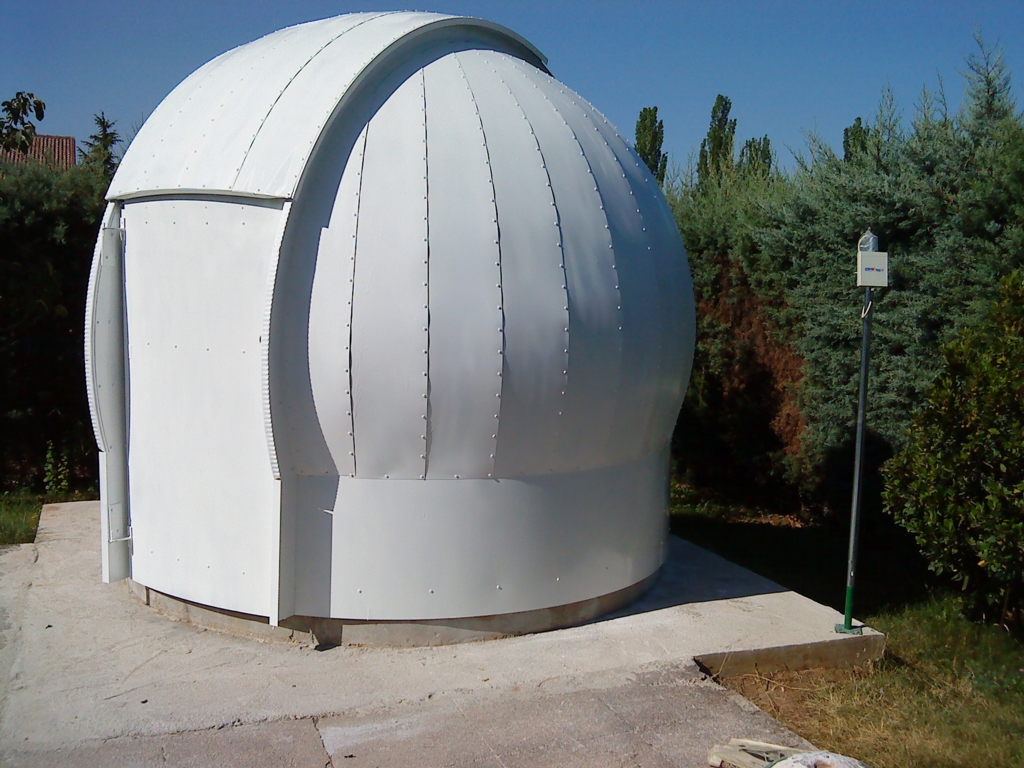
| The
aspect once painted: |
 |
 |
|
|
|
|
|
Home |
Visits since september 14th, 2004: |

|
|